Vinyl flooring is a low-cost flooring alternative that is growing in popularity. It’s a material that’s exceptionally easy to clean and maintain, having the benefit of being waterproof. Vinyl flooring, made from synthetic elements such as vinyl, felt, fibreglass, dyes, ethylene, and chlorine, is available in various colours and designs, like stone tile or hardwood. And it’s available in sheet, tile, or plank form.
All types of vinyl flooring, especially the self-stick vinyl tile (also known as peel and stick tile), is a do-it-yourselfer’s fantasy. It involves only basic skills, a small amount of time, and a few tools. Often, the success of the project and the flooring’s durability depend on the surface preparation. Here are some helpful hints for preparation before installing vinyl floors in your home.
Measure the Room
Take the room’s dimensions before purchasing sheet, tile, or plank vinyl. That’ll inform you how much you’ll require. When you’ve decided on the sort of vinyl you want and the colour or pattern you desire, be sure to buy slightly more than you need. That is to guarantee that you can centre the print or that you have extra tile to repair a broken portion if you have tile.
Prepare the Subfloor
You can install vinyl over a subfloor or directly over ceramic, concrete, or existing vinyl flooring. The subfloor must be clean, dry, and even, regardless of what you are placing vinyl over. You should also allow the flooring to acclimatise. That implies that the flooring should be left out at a temperature comparable to, if not the same as, the room where you’ll install it. Simply put the tile or plank vinyl on the floor, and unroll and set aside the sheet vinyl. Whatever type of vinyl you apply, leave it for at least 24 to 48 hours, according to the manufacturer’s guidelines.
Use a Primer
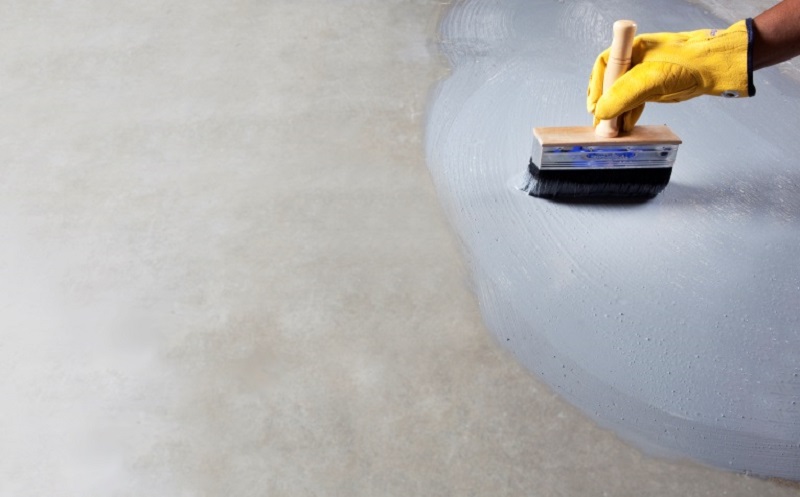
Because vinyl is soft and will display any bumps or grooves, you must fill in any imperfections. And even if the subfloor is smooth, you need to prep it so the vinyl can adhere. That’s where a high-quality floor tile primer for vinyl comes in especially handy.
What is Vinyl Floor Primer?
Priming the substrate before applying levelling chemicals serves a specific purpose: it strengthens the connection between the substrate and the levellers, particularly on non-absorbent surfaces.
Primers also increase the compatibility of the levellers with difficult-to-adhere substrates. You can avoid potential difficulties in the life of your product by using the proper primer.
Why Should You Use Primer for Vinyl?
A floor primer has several advantages for the final floor. If you want your flooring to have the highest adhesion and durability for years, consider using a floor primer. Here are a few advantages of using a floor primer for vinyl.
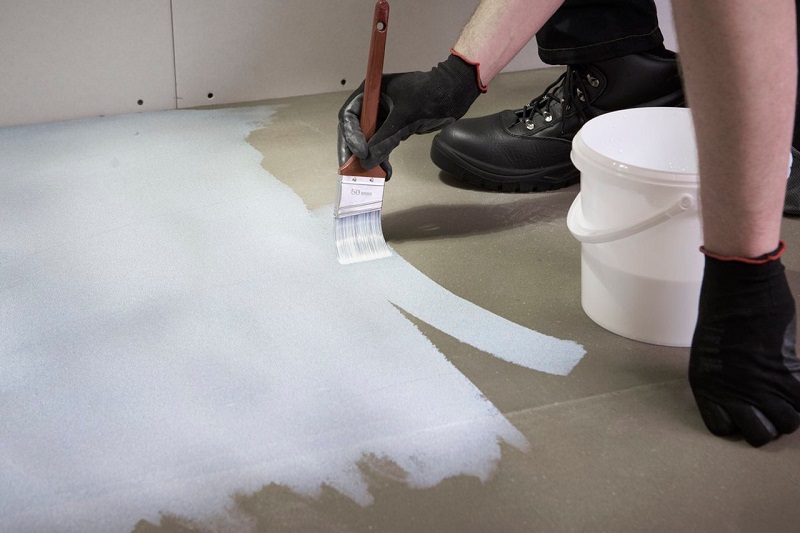
It Helps Adhesion
The floor primer penetrates the substrate and allows the floor overlay to attach to it. Using a floor primer improves the adherence of floor overlays to the substrate. As a result, your floor will last longer with a reduced chance of the coat cracking or chipping.
It Reduces the Emergence of Bubbles
Using primer for vinyl tile reduces the likelihood of bubbles forming in the coat. That’s especially prevalent with thicker coatings, such as self-levelling, where air trapped in the slab can cause gas bubbles and pinholes in your layer. So, you reduce the possibility of gas and air being freed by correctly priming and sealing the substrate.
It Adds Resistance Capabilities
A floor tile primer has multiple resistivity types, contributing to its reputation as a sturdy flooring treatment. The floor primer is resistant to stress, chemicals, heat, and water.
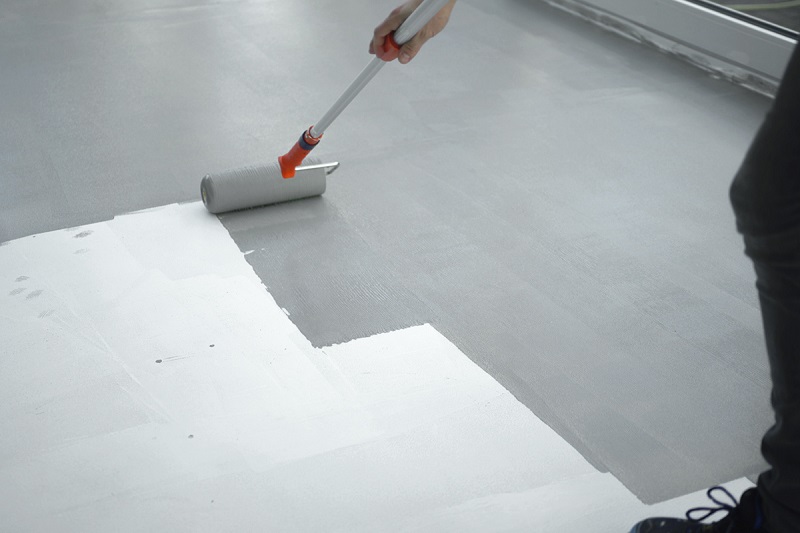
It Minimises Absorption
Priming reduces the likelihood of the products being absorbed by the substrate. Substrates might be more absorbent at times. As a result, if you try to apply a coat to it, you may obtain a dull matte finish since the substrate has absorbed all the liquids.
It Contributes to Easy Maintenance
Floor primer doesn’t attach to bacteria, filth, germs, or other impurities, making it an adequate and hygienic procedure.
The Importance of Measuring for Moisture
High moisture levels can cause the adhesive to fail over time, allowing the vinyl to separate from the floor or move, resulting in gaps or peaks. You can deploy most vinyl flooring products in environments with less than 80% relative humidity. If the moisture results exceed 80% RH, you must control moisture before installation. Contact a professional if you aren’t sure about the recommended moisture level for your selected vinyl product or which moisture control products to use.
Before laying vinyl flooring, make sure the humidity levels are low; there is a technique you can verify this before installation. The following method can help you monitor the humidity of your subfloor without having to get a professional to do it for you:
- Tape a piece of vinyl flooring to the subfloor.
- To avoid air leaks, ensure that the edges are correctly adhered to.
- Keep the tape on for three days.
- After three days, try removing the tape; if it is simple and the humidity is too high, add a dehumidifier.
