If you’re a beginner artists and are exploring the chams of oil sticks and oil pastels, you probably wonder which one is better. Both have their good and bad sides, and what you’re choosing depends on your preferences.
The great thing about both is that they’re portable, rich in colour and allow for gestural mark-making. So, if you’re thinking of incorporating an oil pastel stick or two in your art kit, here’s what you need to know.
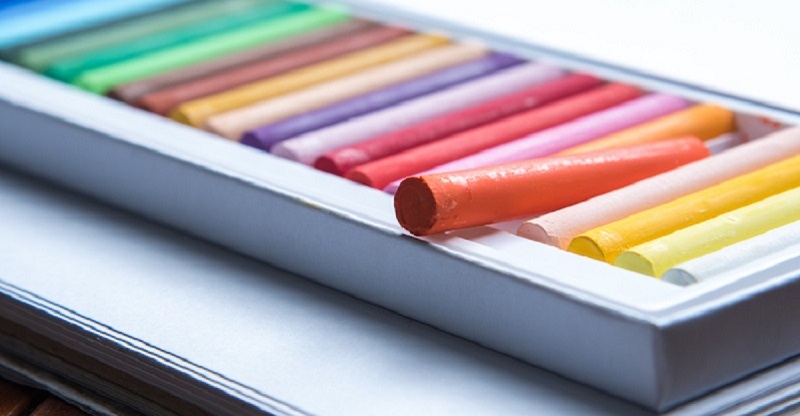
What Are Oil Sticks?
Oil sticks are bars of paint that you can use for oil painting. They’re made of pure pigment, some drying oil such as linseed or safflower oil, and a little bit of wax. The wax helps shape the paint into a nice cylindrical bar. Just like regular oil paint, they dry and cure over time. You can use them on all kinds of surfaces such as canvas, paper, or wooden panels. But before you start painting, you need to prepare the surface with acrylic gesso or oil primer. This will prevent the oil from seeping into the support and messing up your artwork.
These oil sticks are pretty simple to use – just hold them in your hand and start applying the colour directly to the surface. It’s a different way of painting with oils, more immediate and hands-on. You can use an oil pastel stick for sketching out your composition or adding accents and highlights to a more developed piece. Depending on how hard or soft you press, you can make thin lines or thick, marks. And if you want to get fancy, you can even manipulate the colour with a palette knife or a brush, or mix it with an oil medium. If you dip the stick in linseed oil before using it, you’ll get a super soft and luxurious mark.
Oil sticks don’t require special care when you store them, but be sure to keep them away from anything hot. When they’re exposed to air, they’ll develop a thin layer on top that you’ll need to get rid of before using them. Just drag the end of the stick on a hard surface to scrape off the dried film. If you haven’t used the oil sticks in a while, they might be a bit stubborn and need a blade to remove the outer layer. But don’t worry, the paint underneath will still be nice and creamy.
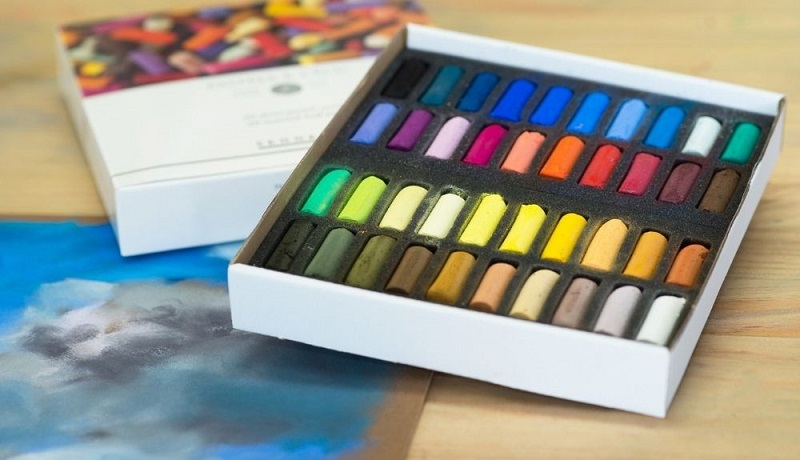
What Are Oil Pastels?
Oil pastels are made with pigment, wax, and a non-drying oil. Unlike oil sticks, they have a lower oil content. The cool thing about this medium is that you can use it on all sorts of surfaces like wood, paper, canvas, and even metal without any prep work. It’s quite versatile. Because it doesn’t have drying oils like oil paint or oil sticks, an oil pastel won’t harden or cure over time. It’ll stay workable forever, which is great for both quick sketches and more detailed artwork. Just keep in mind that this medium can get sticky and smudge easily if not protected. So, if you’re transporting or storing your work, be sure to use glassine paper to keep the pastel film safe.
If you want to prevent smudging and dust accumulation, you can use an oil pastel fixative. These fixatives are usually made with acrylic resin and alcohol. They can also help lock in colours between layers before adding more on top. However, not all fixatives are created equal; some give a glossy finish, while others have a matte finish. Keep in mind that even with a fixative, your work might not be completely set. That’s why it’s still a good idea to use glassine paper when storing or transporting your artwork.
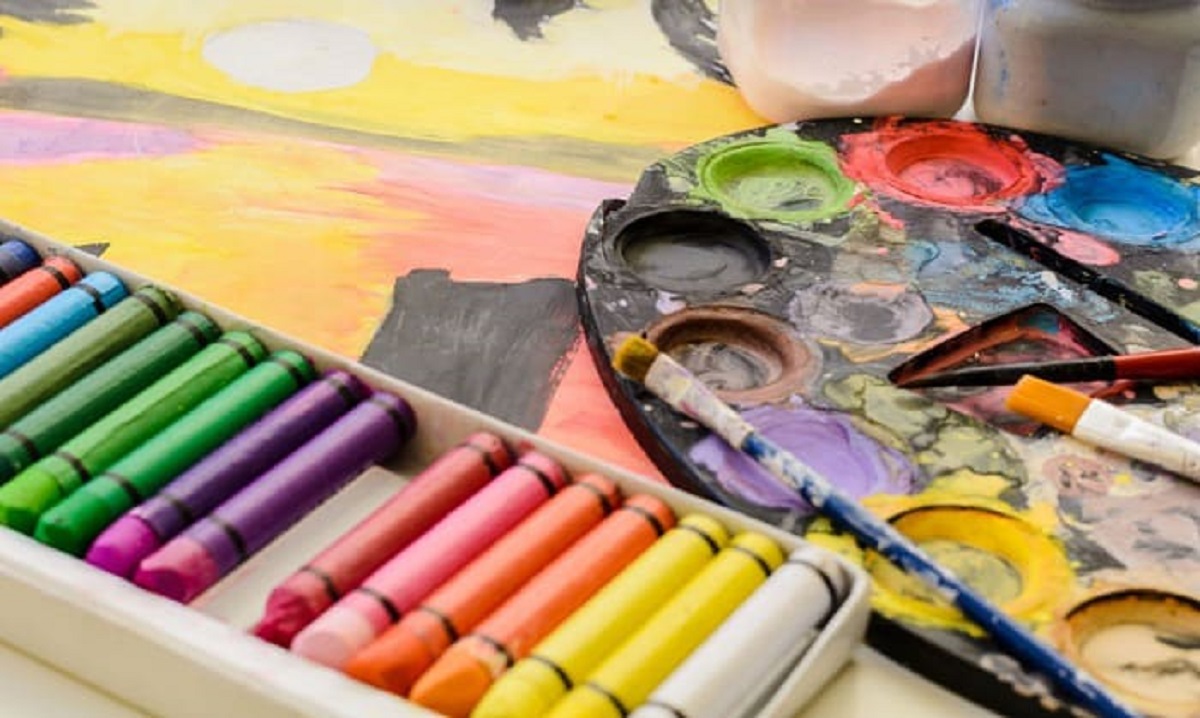
Some Useful Oil Pastel Techniques for Beginners
- Sgraffito – Just grab a few pastels in different colours and layer them up. Make sure the last layer is a dark colour. Then, take a paper clip or something sharp and start scratching your design into the pastel layers.
- Overlaying – If you want to get a bunch of different colours in your artwork, you need to start by slapping on some oil pastels. Then, pick another colour and add another layer on top. Keep on adding more layers until you get the cool textured effect you’re going for.
- Scumbling – This technique requires you to scribble all over the place. You can go for two or more different colours if you want. Just grab one colour and start scribbling away. Then, switch to another colour and keep scribbling. Make sure to overlap the colours in different spots. Stop when you’re happy with the shades and texture you’ve created.
- Oil Blending – This is another cool and easy way to draw with oil pastels. Just drop some colours right next to each other and then grab a brush and dip it in some oil to mix them up.
- Masking – This is another technique of oil pastel drawing for beginners. Tape where you do not intend to colour and apply the pastels in the areas between the tape. When done, take the tape out.
What Surfaces Are Best for Blending?
If you want to get that smooth blend with oil pastels, need gotta start with a super smooth surface. Some of those “pastel papers” can be pretty textured, which is great if you’re into layering, but not so great for smooth blending. So, stay away fro any heavily textured papers if you want that seamless blend. It’s all about finding that sweet spot between enough tooth for the pastels to grip and not too much that messes with your blending game. The type of surface you go for depends on the techniques you like to use. Keep in mind that you need a surface that can handle all those layers of oil pastels. Thin or flimsy papers will soak up the oil and end up ruined. If you’re going for paper, be sure it’s 140lb (255gsm) or heavier.
